
Every stance in the launch build
Stances are not loadout slots you pick from a shared pool — each class has its own pair, and the pair defines the class. Holy weapons sit on top of this as the rarest tier, dropping from map bosses with exclusive gameplay affixes.
| Class | Stance A | Stance B |
|---|---|---|
| Mercenary | Sword & Shield — active block, more armour, shield bash, gap-closing charge | Warhammer — chargeable heavy attacks and stagger, movable with the right perks |
| Sorcerer | Elemental staff — faster casts, lower raw damage, stacking effects | Stardust staff — longer casts, significantly higher raw damage |
| Blackarrow | Arrow types — up to three, imbuing your next shot with damage, area or immobilise | Weapon skills — up to three, including a long-windup single-target hit |
| Shadowstrix | Dagger — Sneak plus stealth openers | Dual Blades — four purely offensive basics |
| Seer | Catalyst — construct runes for healing, shields, vision denial | Mace — curses, shapeshifting and enemy healing reduction |
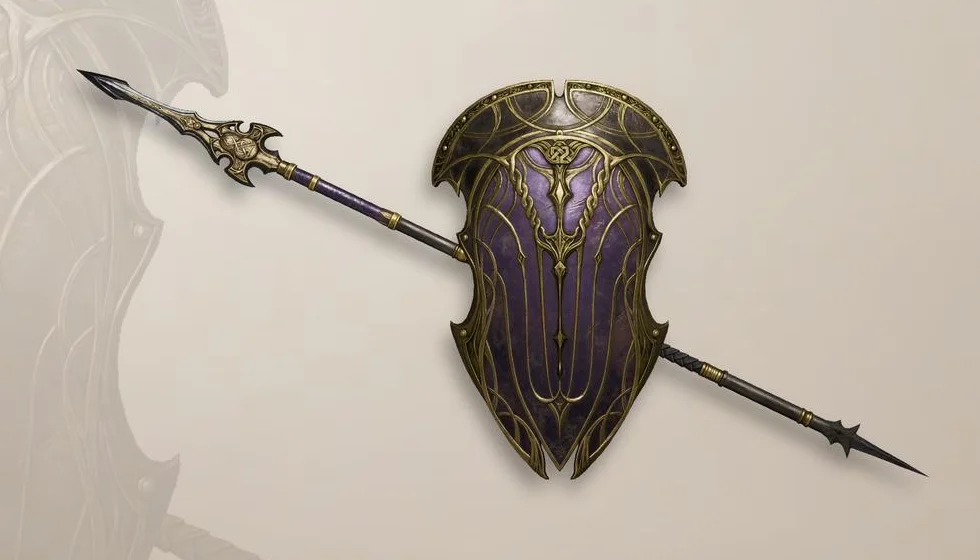
| Withered Knight | Greatsword — counter slashes, momentum dashes, pull mechanics | Polearm & Shield — directional blocks, pokes, ally rescue |
Mercenary
- Stance A
- Sword & Shield — active block, more armour, shield bash, gap-closing charge
- Stance B
- Warhammer — chargeable heavy attacks and stagger, movable with the right perks
Sorcerer
- Stance A
- Elemental staff — faster casts, lower raw damage, stacking effects
- Stance B
- Stardust staff — longer casts, significantly higher raw damage
Blackarrow
- Stance A
- Arrow types — up to three, imbuing your next shot with damage, area or immobilise
- Stance B
- Weapon skills — up to three, including a long-windup single-target hit
Shadowstrix
- Stance A
- Dagger — Sneak plus stealth openers
- Stance B
- Dual Blades — four purely offensive basics
Seer
- Stance A
- Catalyst — construct runes for healing, shields, vision denial
- Stance B
- Mace — curses, shapeshifting and enemy healing reduction
Withered Knight
- Stance A
- Greatsword — counter slashes, momentum dashes, pull mechanics
- Stance B
- Polearm & Shield — directional blocks, pokes, ally rescue
Swapping is the mechanic, not a convenience
The intended pattern is defensive stance to survive the commitment, offensive stance to punish it. Against a Mist Lord that means absorbing a heavy strike behind a shield and then swapping to the hammer to cash in the stagger window. Against a player it means the swap is your answer to them changing range on you.
- Turtle up when a fight goes wrong, swap when it is time to punish.
- Red anger attacks from elite enemies punch straight through blocks — blocking is not a universal answer.
- Slow stances get kited. If your kit has no gap closer available, do not open at range.
Polearm & Shield blocks to charge, not to survive
The launch build’s newest stance is the one most often played wrong, and DevNote #7 explains why in Bellring’s own words. The kite shield is not the Mercenary’s: a Polearm & Shield player “can charge up power while actively blocking damage, preparing for a devastating counterattack”. Blocking is the wind-up, not the retreat. Certain skills in the branch also carry block protection — interruption resistance the note compares to Super Armor — which is what gives you a stable window to land the counter instead of being staggered out of it.
- Block to build, then counter. A block you take and then walk away from has spent the stance’s whole mechanic and bought nothing.
- The polearm’s range advantage is real, and Bellring deliberately taxed it: turn rate on certain Polearm & Shield skills was reduced “to prevent its range advantage from becoming overly oppressive”. The sluggishness players report is the balance lever, not a bug.
- That tax is worth reading next to the tier list, where this stance sits at the bottom of the solo rankings. The design intent — team utility, battlefield roles, a steeper curve than the Greatsword — is aimed at a trio, and the solo verdict is measuring it against a job it was not built for.
- The two Withered Knight branches are not exclusive. The note says skills and talents can be mixed from both the Greatsword and Polearm & Shield trees “based on the scenario or team composition needs”.
Heavy attack economy
Heavy attacks are metered by energy and the economics are not obvious. On the Withered Knight, a fully charged heavy releases two hits for the same energy cost as a single tap, effectively doubling your energy efficiency — but you can only land about four standard heavies before bottoming out. So quick taps are for neutral trades and charged heavies are for targets that are already stunned, staggered or distracted.
Durability and repair
Weapons have durability and are repaired at the workshop. Gear can also be crafted there — long crafts measured in hours that produce genuinely good items, which is why the workshop is a station you interact with before logging off rather than between runs.