
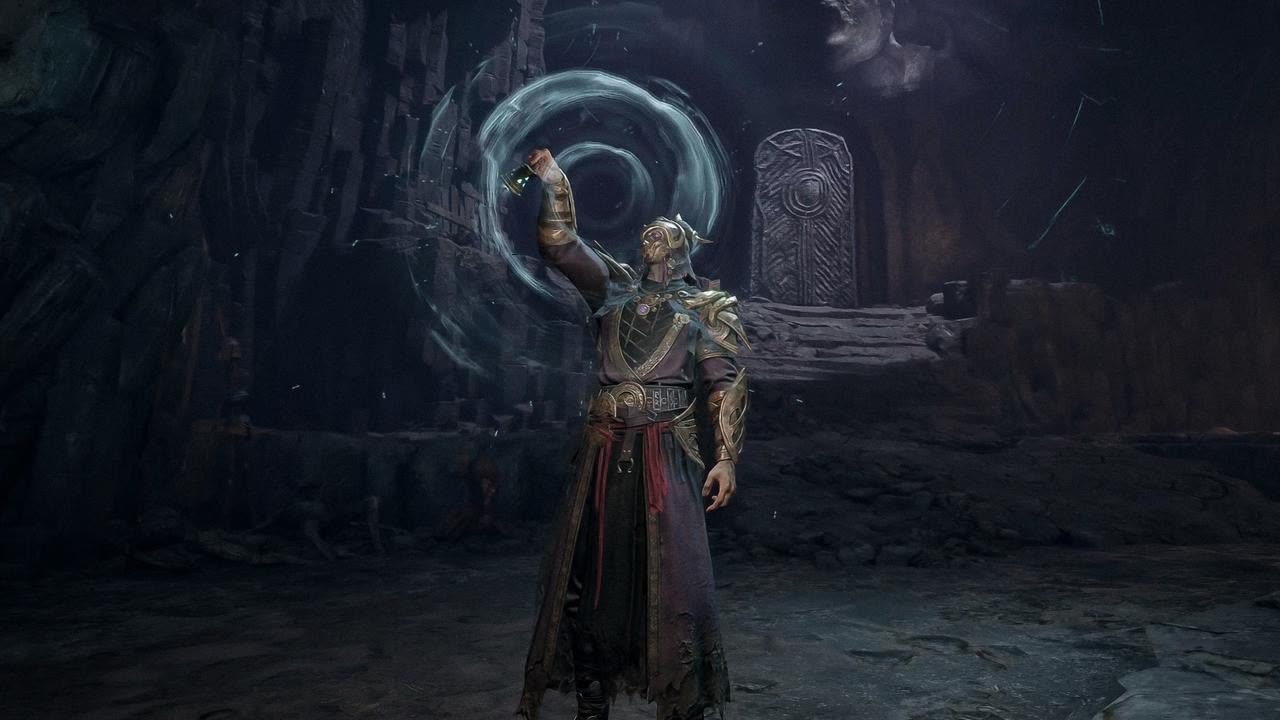
Route with an exit plan
Mistfall Hunter rewards greed but punishes death, and your exit plan is not the same on both maps. On Hallowgrove the chimes are already standing when you land, so an exit exists from the first minute. On Brandrgarde nothing is placed for you and you are waiting on a random Woodling, which means a bag worth keeping should send you looking earlier than feels comfortable.
- Hallowgrove gives you more time to learn a route, but its final mist collapse is still a hard deadline.
- Brandrgarde is tighter, more vertical and uses a shrinking safe zone, so start searching for an exit earlier.
Difficulty gates decide what you can bring
Each map has difficulty tiers, and the tier sets both the challenge and the entry requirement on your gear. Combat bags are free gear sets, graded Novice (white), Advanced (green), Pro (blue) and Elite (purple).
| Map and difficulty | Gear requirement | Combat bags allowed |
|---|---|---|
| Hallowgrove — Normal | Gear at or below Excellent (blue) | Novice, Advanced, Pro |
| Hallowgrove — Chaos | Equipment value at or above 800 Gyldenblod | Advanced, Pro, Elite |
| Brandrgarde — Normal | Combined gear value at or above 300 Gyldenblod, starting gear at or below Epic (purple) | Novice, Advanced, Pro, Elite |
| Brandrgarde — Cataclysm | Equipment value at or above 2500 Gyldenblod | Elite only |
Hallowgrove — Normal
- Gear requirement
- Gear at or below Excellent (blue)
- Combat bags allowed
- Novice, Advanced, Pro
Hallowgrove — Chaos
- Gear requirement
- Equipment value at or above 800 Gyldenblod
- Combat bags allowed
- Advanced, Pro, Elite
Brandrgarde — Normal
- Gear requirement
- Combined gear value at or above 300 Gyldenblod, starting gear at or below Epic (purple)
- Combat bags allowed
- Novice, Advanced, Pro, Elite
Brandrgarde — Cataclysm
- Gear requirement
- Equipment value at or above 2500 Gyldenblod
- Combat bags allowed
- Elite only
Extraction on Hallowgrove: a wide window
A timer bar sits in the top right. Until it fills you can explore and fight without worrying about the mist. When it elapses the Gyldenmist collapses almost instantly — this is not a battle royale circle creeping inward, it is a hard cutoff. Returner chimes are already standing at several spots when the expedition begins. Interacting with one sends out a burst of butterflies that travels to a nearby location and starts a short timer, after which a Returner Woodling spawns and attacks you. Kill it, interact with the corpse, and channel the return spell. The completed channel rings a bell that nearby players can hear.
Returner Woodling priority
The Returner Woodling is the rare monster that carries the extraction bell, so it is the one objective every surviving squad eventually has to converge on. Treat it as a contested fight you choose the timing of, not one you stumble into.
- Arrive with resources, not at the end of a bad fight.
- On Brandrgarde, look for the pulsing blue aura that shows through terrain rather than sweeping the map.
- Leave if the area turns into a multi-party fight and your bag is already strong.
Extraction on Brandrgarde: hunt the Woodling
Brandrgarde behaves like a conventional battle royale — the Gyldenmist collapses to a safe zone over multiple phases, smaller each time, until it consumes the map. There are no chimes to start the chain. Returner Woodlings simply spawn at random locations and you have to find them, which you do by watching for their pulsing blue aura visible briefly through terrain and listening for their bell. Killing one guarantees a bell and can drop more than one. Once you are carrying a bell in its dedicated slot you can leave whenever you want. Since 3 September, Brandrgarde also has a dedicated Solo Mode on both Normal and Cataclysm, so the lobby described above is the trio one — a solo queue no longer puts you in it.
- A second bell dropping changes squad dynamics instantly, because a bell holder can leave alone at any time.
- Standing outside the safe zone deals enormous damage — far more than a typical battle royale, so you will not outlast it.
- A rare bell can also be found on the ground, allowing an instant extract from anywhere.
Loot zones and missions
Areas encircled by a gold line on your map hold the densest valuable loot — and correspondingly more enemies and more player traffic. The zones do not tell you what kind of loot they hold, but containers pull from consistent pools, so map knowledge compounds. Missions start at blue exclamation marks, do not change between runs on a given map, and each carries a chance to drop a Holy item, currently the rarest tier in the game.
- Favourite a material back at camp and it gets a flag on its icon while you loot, so you can spot what you actually need.
- Solo runs award one mission loot box; trios award three, and a two-stack in a trio still gets three.
- Each map has one Mist Lord and two other bosses.
What this map does not show
There are no chest, loot or spawn pins here, and that is deliberate. No public source publishes reliable coordinates, so the schematic plots only source-backed region structure and per-map rules. Pins can be added through the evidence-backed marker submission flow when real positions are available.