
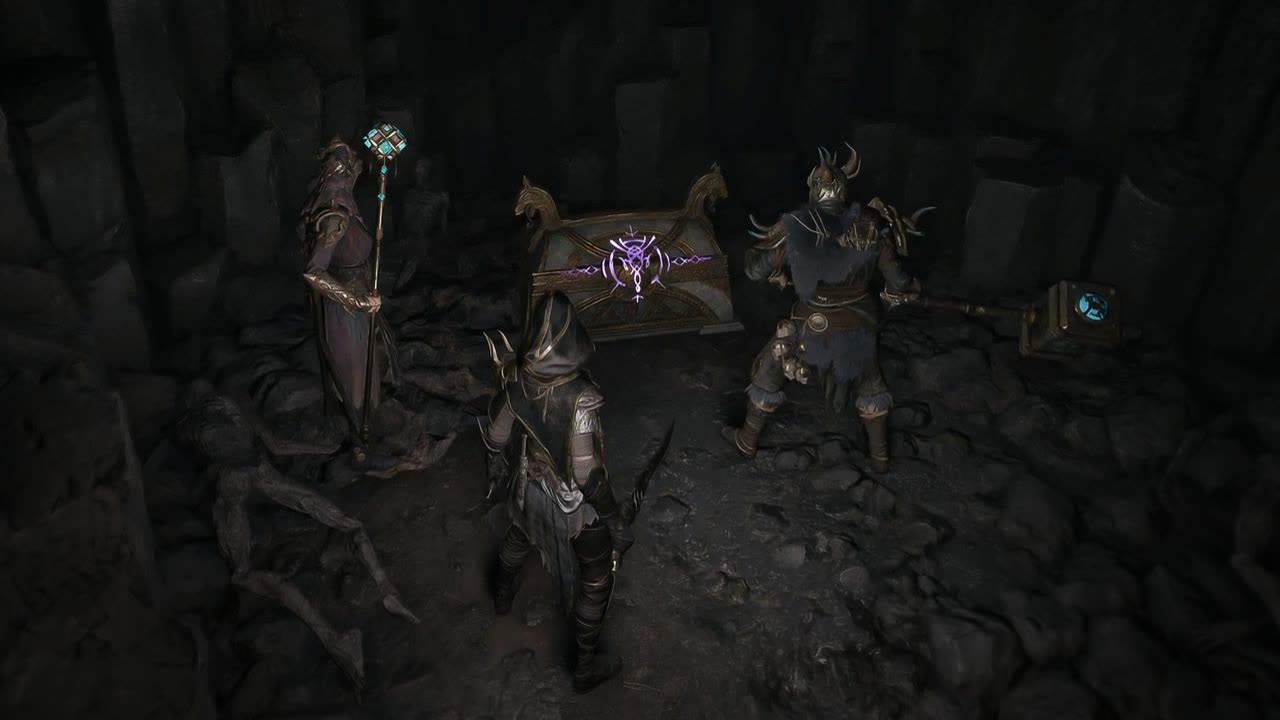
Gold is the whole progression system
In most extraction games currency buys convenience and the good gear still has to drop for you. Mistfall Hunter is not built that way: Gyldenblod buys weapons at any rarity, armour, gems and effectively every material, so the question "how do I get X" almost always collapses into "how do I get enough gold to buy X". The practical consequence is that you should loot for value rather than for the specific item you need — a purple worth 500 beats the blue material you were hunting, because selling the purple buys the material and leaves change.
- The exceptions are narrow: certain Holy materials used for camp upgrades, some cosmetics, and a handful of specific items.
- Anything you are unsure about can be sold and rebought later. The auction house fee is the price of never managing a warehouse full of maybes.
- This is also why a run that finds nothing you personally need can still be an excellent run.
The rat loop: play the outside, leave at fifteen minutes
The reliable money method is not a boss route. It is entering on a cheap kit, working the edges of the map — high-value zones, caves, basements, the awkward corners — and leaving before the strong players finish fighting each other. SoBadStrange calls this ratting and reports 50,000 to 100,000 Gyldenblod a day from it. The filmed run below is the one they described as bad luck: no reds, no legendaries, one high-value zone half-abandoned to another player.
- Stake a blue set at roughly 3,600. The creator rounds to 4,000 to cover a tonic they say on camera they have not priced — but the basic tonic from Sigrid at the tavern costs nothing, so 3,600 is the real floor and there is no reason to enter without a tonic.
- Leave around the fifteen-minute mark. After that the strong players stop duelling and start camping extracts.
- Loot everything, including greys, and drop the greys once the merchant has converted them. Almost every container and monster can hold a Holy item.
- If someone is already working the high-value zone you spawned next to, leave and come back. Most players take the gold chest and move on, and the rest of the zone is still there.
Chaos is safer than it sounds, and pays roughly triple
The instinct is that a harder difficulty is a worse place to be poor. It is the opposite here, and for a social reason rather than a mathematical one: the strong players who queue Chaos concentrate on the bosses, the Mist Lord and the middle of the map, which leaves the outside quieter than it is on Normal. Chaos also carries far more purples, legendaries and Holy items. The entry requirement is the part most players get wrong — it is not a rarity gate, it is a value gate.
- Equipment value is shown in the equipment hub directly above your gear set. Cross 800 and Chaos unlocks.
- If gear fear is the problem, enter Chaos on the 800 green set and safe-pocket the best finds. A couple of epics covers the set.
| Loadout | What it costs | What it unlocks | What one recorded run returned |
|---|---|---|---|
| Novice combat bag | Nothing — it is handed to you | Normal only | ≈2,300 on Hallowgrove Normal, four elite-guarded chests, no golds |
| Green set | 800 of combined equipment value | Chaos | Not filmed end to end; the 800 is a key, not a stake |
| Blue rat kit | ≈3,600 for the set — the tonic on top of it is free | Chaos, comfortably | 12,500 on a run the creator called unlucky — a net of about 8,900 |
Novice combat bag
- What it costs
- Nothing — it is handed to you
- What it unlocks
- Normal only
- What one recorded run returned
- ≈2,300 on Hallowgrove Normal, four elite-guarded chests, no golds
Green set
- What it costs
- 800 of combined equipment value
- What it unlocks
- Chaos
- What one recorded run returned
- Not filmed end to end; the 800 is a key, not a stake
Blue rat kit
- What it costs
- ≈3,600 for the set — the tonic on top of it is free
- What it unlocks
- Chaos, comfortably
- What one recorded run returned
- 12,500 on a run the creator called unlucky — a net of about 8,900
The merchant is free money, twice over
Richie, the merchant who appears during a run, is the single most underused source of gold on the map, and the talent that discounts him pays for itself. Selling him the greys and greens you have been carrying frees bag space and converts junk into currency mid-run; buying from him is where the real margin sits, because his stock is priced against the vendor rather than against the auction house.
- The merchant discount talent is reported at 1,000–2,000 Gyldenblod a round, and far more on a round where he stocks something rare.
- Red Holy items occasionally appear on his list for a few hundred and resell at auction for thousands.
- Potent healing elixirs bought from him cost less than the camp shop asks.
- Back at camp the shop sells two identical stacks of potions at different prices. The cheap stack is limited and refreshes every thirty minutes, as do the free tactical items — so a visit between runs is worth making even when you need nothing.
Why a red relic is worth fifty thousand
The single largest number in this economy is not a weapon, it is a camp material. Red Holy relics are required for the last tier of camp upgrades — several of those upgrades want four of them — and because they cannot simply be farmed on demand, the auction house prices them accordingly. SoBadStrange pulled a Gem of the Gods from an ordinary chest while wearing blues and sold it for 51,000, and reports players paying 60,000 to 70,000 when they are impatient. That is one item worth twelve entry kits.
- This is the reason to loot the boring container: the payout is not in the average, it is in the tail.
- Mini-bosses can drop more than one red, and are easy to stagger.
- Sacred Heart Trees and similar random interactables usually hold two unidentified items and are widely walked past.
Climb only as far as the bag is worth
MinMax Gaming lays out the in-run objectives in one order and notes that it runs least to most dangerous and least to most rewarding at the same time. That coincidence is what makes it useful: you can stop anywhere on it and the run still made money. The ladder at the top of this page is this table, one rung at a time.
- One won PvP fight usually fills most of an inventory. Hunting a second is where profitable runs turn into lost ones.
- Gear-based matchmaking means the player you meet is carrying roughly what you are, which is what makes a single fight worth so much.
- Once you are holding an upgrade, useful materials and something worth protecting, the question stops being what else can I find and becomes how do I leave with this.
| Objective | What it pays | What it costs you |
|---|---|---|
| Purple-tagged enemies | A treasure chest with strong rewards, for a fight that is usually short. | Very little. This is the rung you clear while deciding whether the run is worth extending. |
| Key rooms | Concentrated loot behind a door every player without a key walks past. | A key, which has a limited number of uses — and standing still at a door while it opens. |
| Treasure chests in hot spots | The densest loot on the map. The gold chest is only part of it; the zone around it pays too. | Traffic. These zones draw players early, and the cheap play against someone already working one is to leave and come back. |
| Tasks | A treasure chest on completion, every time, plus a chance at a Holy item. | A route other players can predict, because the blue marks do not move between runs on a map. |
| Elite enemies | Excellent loot for a genuine fight. | Time spent audibly fighting. The danger is less the elite than the player who hears it. |
| PvP | One won fight usually fills most of an inventory, and gear-based matchmaking means their kit is roughly as good as yours. | Everything. A player kill leaves no soul form and no second body — unlike a monster, there is no recovery run. |
| Mist Lords | The top of the payout ladder, one per map. | The run, twice over: the Lord can kill you, and the fight advertises your position to everyone still alive. |
Purple-tagged enemies
- What it pays
- A treasure chest with strong rewards, for a fight that is usually short.
- What it costs you
- Very little. This is the rung you clear while deciding whether the run is worth extending.
Key rooms
- What it pays
- Concentrated loot behind a door every player without a key walks past.
- What it costs you
- A key, which has a limited number of uses — and standing still at a door while it opens.
Treasure chests in hot spots
- What it pays
- The densest loot on the map. The gold chest is only part of it; the zone around it pays too.
- What it costs you
- Traffic. These zones draw players early, and the cheap play against someone already working one is to leave and come back.
Tasks
- What it pays
- A treasure chest on completion, every time, plus a chance at a Holy item.
- What it costs you
- A route other players can predict, because the blue marks do not move between runs on a map.
Elite enemies
- What it pays
- Excellent loot for a genuine fight.
- What it costs you
- Time spent audibly fighting. The danger is less the elite than the player who hears it.
PvP
- What it pays
- One won fight usually fills most of an inventory, and gear-based matchmaking means their kit is roughly as good as yours.
- What it costs you
- Everything. A player kill leaves no soul form and no second body — unlike a monster, there is no recovery run.
Mist Lords
- What it pays
- The top of the payout ladder, one per map.
- What it costs you
- The run, twice over: the Lord can kill you, and the fight advertises your position to everyone still alive.
Death is the only real cost — and only one kind of death
Dying to a monster may put you in soul form with a limited window to reach your body and recover the run. Dying to another Gyldhunter does not: there is no soul form, no second body, and the expedition is over. Every risk decision on this page rests on that asymmetry. A calculated gamble against a boss has a recovery route; refusing to disengage from a losing duel does not.
- Pip’s Pouch rarity sets a value ceiling, not just a slot count — a Crude pouch will not hold a 5,000-Gyldenblod Holy item, a Rare one will.
- Keys stored in a keychain are not dropped on death, but a key found mid-run may have to be extracted once before it can go in.
- The Smuggler extract is the bad-run parachute: four items plus your safe pouch, out of a run that has already gone wrong.
- Four ranks of Ether Rail removes fall damage, which turns towers, elevator shafts and cliffs into escape routes almost nobody in blues is equipped to follow.
Where gold leaks without you noticing
Most players lose more to routine than to death. None of the following is dramatic, and together they are the difference between a farm that compounds and one that treads water.
| The leak | What it costs | What to do instead |
|---|---|---|
| Repairing only when gear is nearly broken | Repair price climbs steeply as durability falls | Visit the forge after every run while durability is still high |
| Paying the fee to switch an existing character’s class | One creator reports wasting 3,000–4,000 Gyldenblod | Usually make a new character instead — see the question page below for when the fee is still the right call |
| Buying the expensive potion stack | More than double the discounted price | Take the limited cheap stack every shop refresh, whether or not you need it yet |
| Activating two safe-pouch vouchers at once | The weaker pouch burns days you will never use | Hold the next voucher until the active pouch expires |
| Buying worn keys | A damaged key may have two uses left where a fine key has ten | Read the wear bar on the tooltip before bidding |
| Hoarding materials you might need | Warehouse pressure, and runs spent target-farming | Sell and rebuy later; the auction fee is cheaper than the attention |
Repairing only when gear is nearly broken
- What it costs
- Repair price climbs steeply as durability falls
- What to do instead
- Visit the forge after every run while durability is still high
Paying the fee to switch an existing character’s class
- What it costs
- One creator reports wasting 3,000–4,000 Gyldenblod
- What to do instead
- Usually make a new character instead — see the question page below for when the fee is still the right call
Buying the expensive potion stack
- What it costs
- More than double the discounted price
- What to do instead
- Take the limited cheap stack every shop refresh, whether or not you need it yet
Activating two safe-pouch vouchers at once
- What it costs
- The weaker pouch burns days you will never use
- What to do instead
- Hold the next voucher until the active pouch expires
Buying worn keys
- What it costs
- A damaged key may have two uses left where a fine key has ten
- What to do instead
- Read the wear bar on the tooltip before bidding
Hoarding materials you might need
- What it costs
- Warehouse pressure, and runs spent target-farming
- What to do instead
- Sell and rebuy later; the auction fee is cheaper than the attention
Can you buy gold? — what the store sells, and what nobody has said
There is no official way to buy Gyldenblod. What Bellring sells is the Deluxe Upgrade, whose eight lines are cosmetics and premium currency — Fate Coins, which the launch material restricts to cosmetics — and no official listing, post or announcement offers gold for money at any price. So every result for “buy Mistfall Hunter gold” is a third-party seller, and the honest thing this page can tell you about those is that nobody knows what happens if you use one. Bellring’s weekly Fair Play list has three named buckets — cheating, intentional illegal teaming, and frequent temporary teaming in matches — and real-money trading is not among them. Read that as an absence of published policy rather than as permission. An unwritten rule is not a rule you have been told you are safe under, the seller has no way to make you safe under it either, and the account is the thing at stake.
- The auction house is the only sanctioned route from one player’s Gyldenblod to another’s. It charges a fee, and unlike an off-platform transfer it happens somewhere the developers can see.
- The entry bar people are usually trying to buy past is lower than it looks: Chaos wants 800 Gyldenblod of equipped value, not a rarity, and the filmed loop above stakes about 3,600 to run it.
- If you are here because gold goes out faster than it comes in, the section above on where it leaks is the cheaper fix — it is the same money, and it does not cost an account.