
The loop in one paragraph
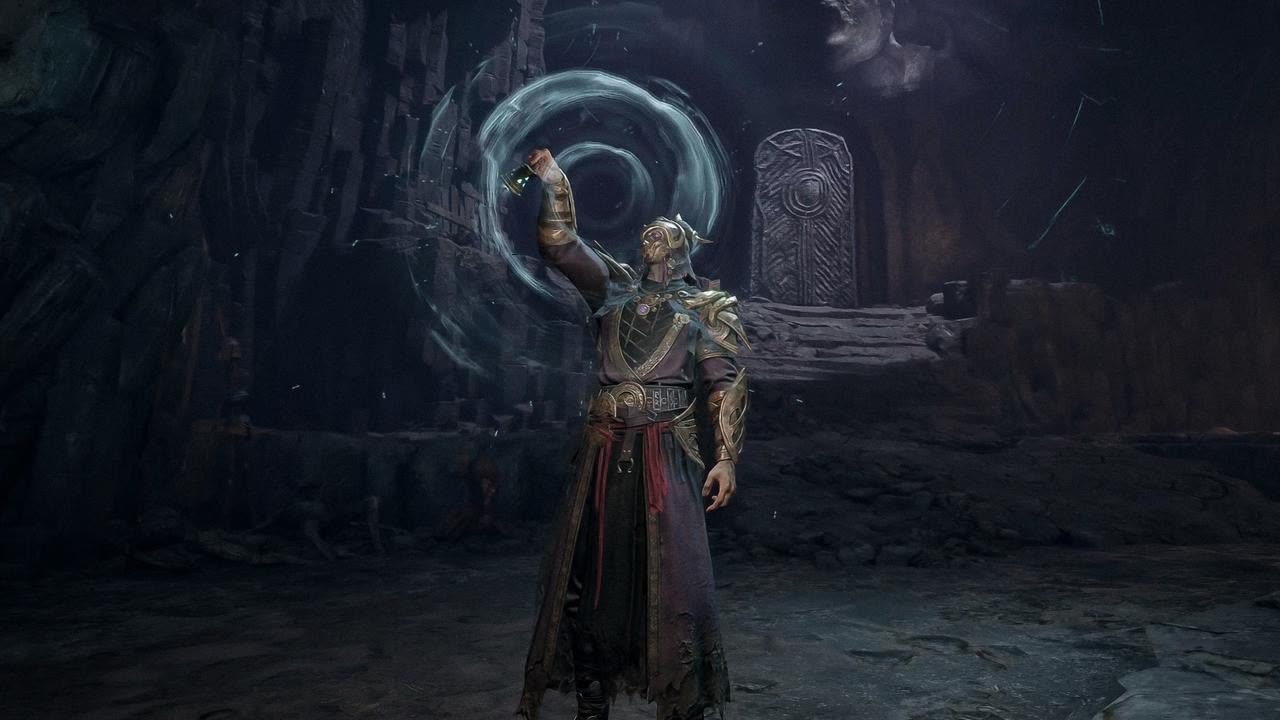
You drop into a map solo or in a trio, pick up run missions, loot containers and enemies, fight Corroded monsters and rival Gyldhunters, then secure an extraction bell before the Gyldenmist takes the map. Extract and your loot goes to the warehouse and funds Windrest Camp upgrades. Die to a player and it is gone.
- Queues are solo or trio only. There is no duos mode.
- Two players can still run a trio by turning off squad fill — you keep the three-mission reward but play a man down.
- Skills and talents can be swapped freely between runs at no cost, so nothing you pick in the first hour is permanent.
Start on Hallowgrove, not Brandrgarde
Hallowgrove is the beginner map and the difference is structural, not cosmetic. Its Gyldenmist does not creep inward over the match, so you are not under constant contraction pressure while you are still learning where the exits are. Brandrgarde runs a conventional shrinking-circle and adds heavy verticality on top.
- Clear the Hallowgrove missions before you take a quest that pushes you onto the other map.
- Hallowgrove Normal caps your gear at Excellent (blue), which keeps the lobby gear-honest while you learn.
- Brandrgarde is tighter, more vertical and punishes bad spacing much harder.
A monster kill is recoverable. A player kill is not.
This is the single most misreported thing about the game. If a monster or the mist eliminates you, you enter Soul Form and respawn near where you fell — walk back to your body, interact, and you are alive with your run intact. If another Gyldhunter kills you, that recovery is not available. So do not quit out of a PvE death, and do treat every player contact as the moment the run can actually end.
- PvE or mist death: Soul Form, return to your body, revive.
- PvP death: no recovery.
- Rare items placed in the safe pouch survive death, and you can extend how many slots it has.
Springhorn is your emergency button — stop wasting it
Springhorn heals instantly, and you get a fixed number of charges for the whole expedition that cannot be refilled mid-match; they come back when you re-queue. Healing elixirs are the opposite: they heal over time and are useless while something is hitting you. Use elixirs after you disengage, and save Springhorn for burst damage and third-party fights.
- Elixirs between fights, Springhorn during them.
- Springhorn also heals more as you upgrade the Goddess Statue at camp, which is why that building is the first upgrade to chase.
- Charges do not carry over — going into a fight on zero charges is how clean runs die.
Three free things most new players skip
Each of these costs nothing and each one makes the next run measurably better. Skipping them means entering runs weaker for no reason at all.
- Take the free tonic from Sigrid at the tavern before every expedition — the basic version costs no materials.
- Dispatch the Scavenger Squad before you log off. Expeditions run for hours, so a forgotten dispatch is a wasted night.
- Use the training grounds. You can test your current gear, talents and skills against simulated player characters before risking anything.
Learn Breakaway on day one
Every class has it. After you take two instances of impact damage in quick succession, a gold icon flashes and a dodge performs a Breakaway that breaks you out of stagger and ignores collision with other units. It has an internal cooldown that shortens as you deal and take damage. Players who never learn it lose fights they had already won, because being stun-locked in this game means dying with a full bag.
- Your dodge and your Breakaway are not the same move and do not draw on the same thing. Dodging spends its own charges, which are separate from the energy your attacks use; a Breakaway spends neither, and answers to its own cooldown instead.
- That is why mashing dodge the moment someone touches you feels like being permanently stun-locked. You burn charges on inputs the stagger is eating, and the one input that would actually free you is the one you stop watching for.
- Wait for the gold prompt, then dodge. The prompt is the whole mechanic — before it appears there is nothing to trigger.
- Breakaway buys you a decision, not a win. Use the opening to make distance if you are ranged, or to block, parry or counter if you are not — attacking straight back into the same combo puts you exactly where you started.
Two things the game never tells you
Both of these are one sentence long, both are invisible until somebody points at them, and both change something you do in every single run. They are here rather than buried in a tips list because a new player will hit the first one within ten minutes and never notice the second at all.
- Standing over a pile of loot, press Tab. Every nearby item is listed in the top-left corner and you pick from the list — no aiming at each one in turn, which is the slow, exposed way most players do it for their first several hours.
- A small dot on a skill means you have spent talent points that improve it. A dot on a skill you do not actually use is the clearest sign your tree is wired to the wrong build, and those points are doing nothing. Resets are free, so this costs you a trip to camp to fix.